
 When we moved into our house four years ago, we took it down to the studs. We spent two years putting the first floor back together, but the basement (and all other home improvement projects) went on the backburner with the birth of baby girl.
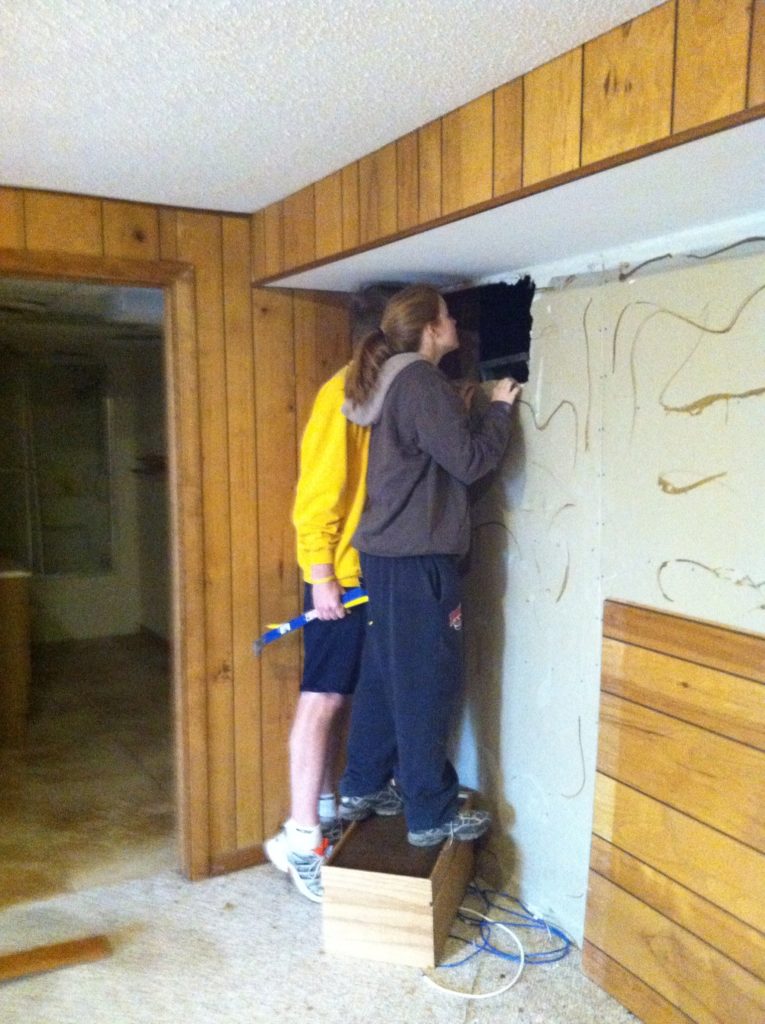
One of the cool discoveries we made when doing demo was a 2′ x 3′ cutout in the cement wall leading to an unfinished portion of the basement. It was a dirt-floored crawlspace with 7 feet of headroom. This 350 square foot area was just below the two kid bedrooms. We can’t figure out why they didn’t just cement the floor and make it part of the finished house – it might have added just a few thousand to the price.
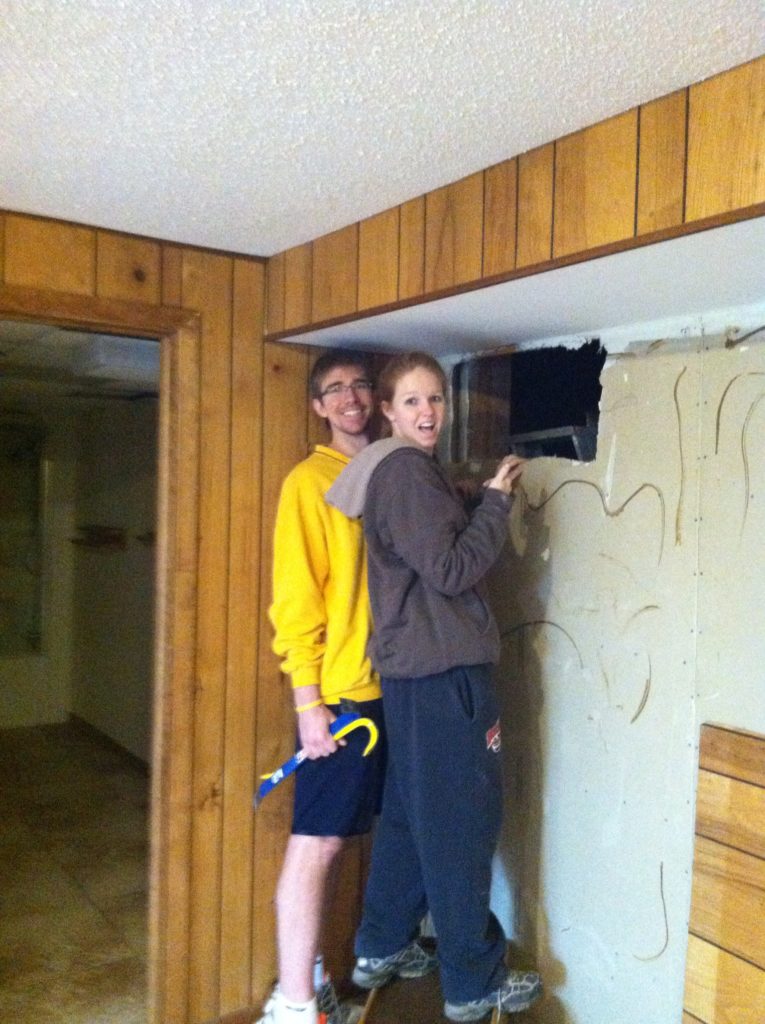
We had a cement guy come and cut out a doorway to the room. And then got some quotes to finish it the right way. It would have cost us $20,000 to excavate and pour concrete! That was a non-starter. Our house is probably too big as it is. So we waited. At some point along the way, I read about crawlspace encapsulation. It’s a fancy way of saying cover with fancy plastic. We got a few quotes and $2,000 later, the job was done.
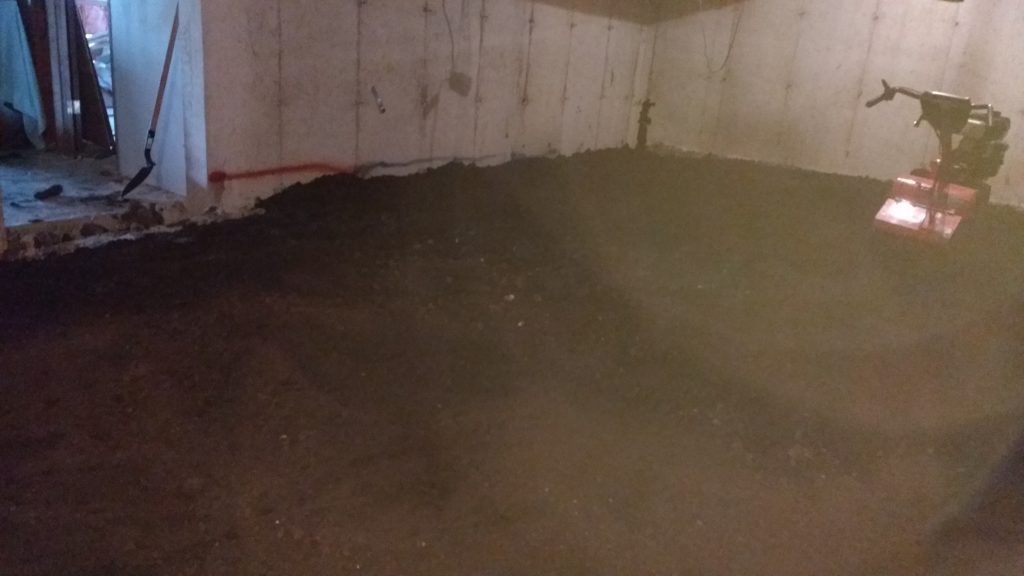
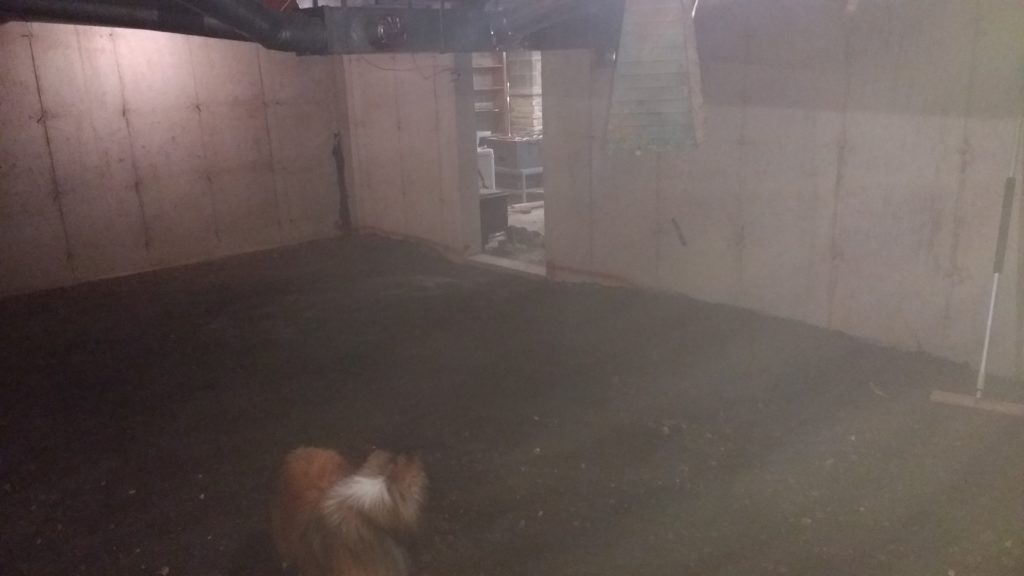
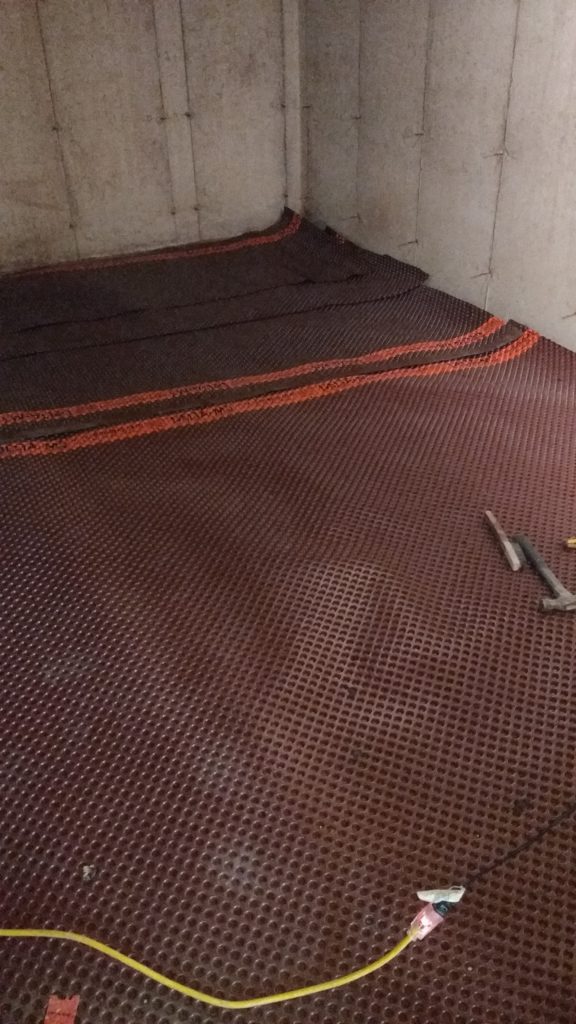
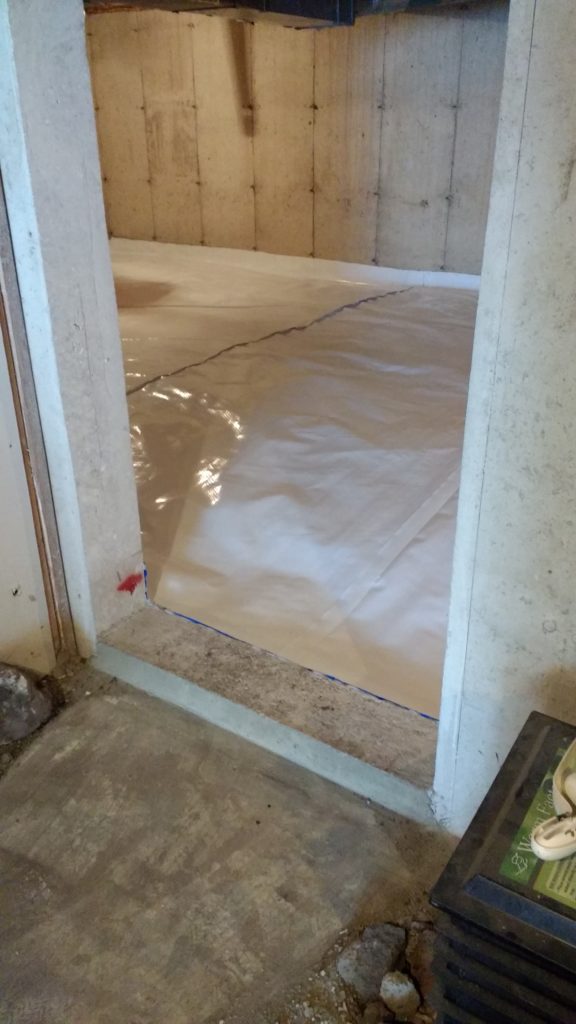
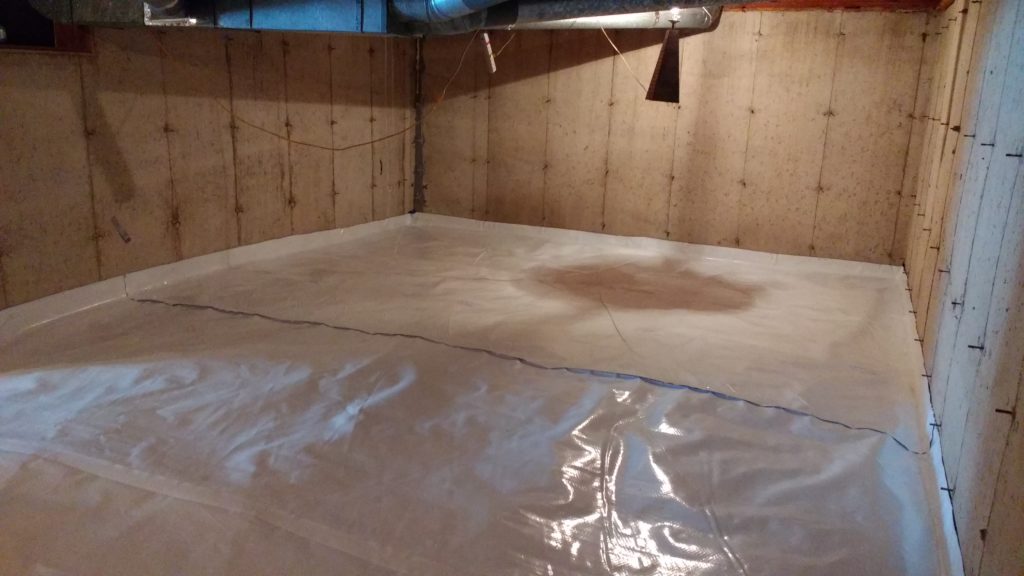
But this covering with fancy plastic still meant that we’d be walking on dirt. The company said the plastic will hold up to traffic and storage, but it didn’t feel like part of the house. So I devised a plan to build a frame that rested on the encapsulation. I could have level floor that made the space feel more finished. I bought a framing nail gun and got to work.
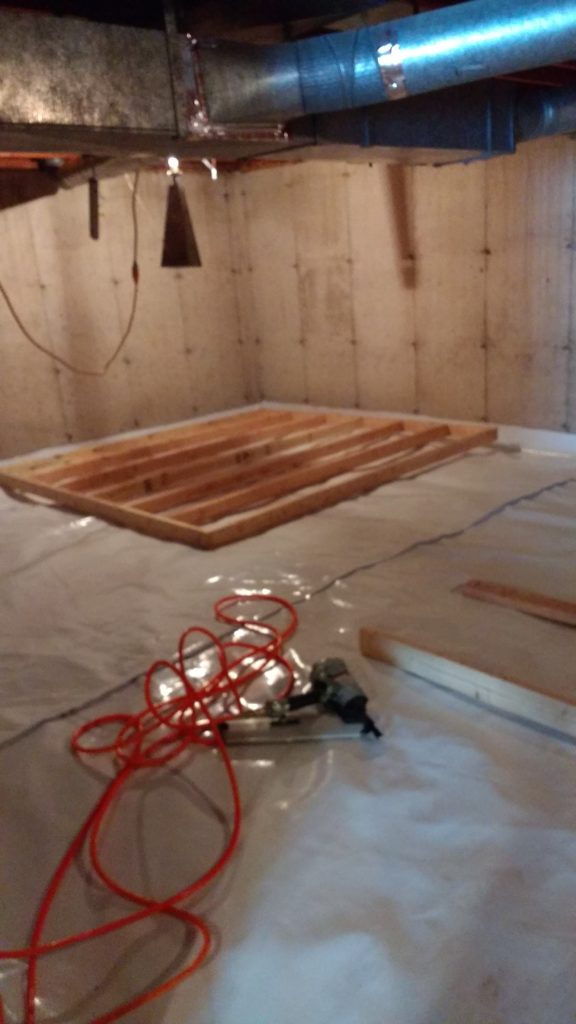
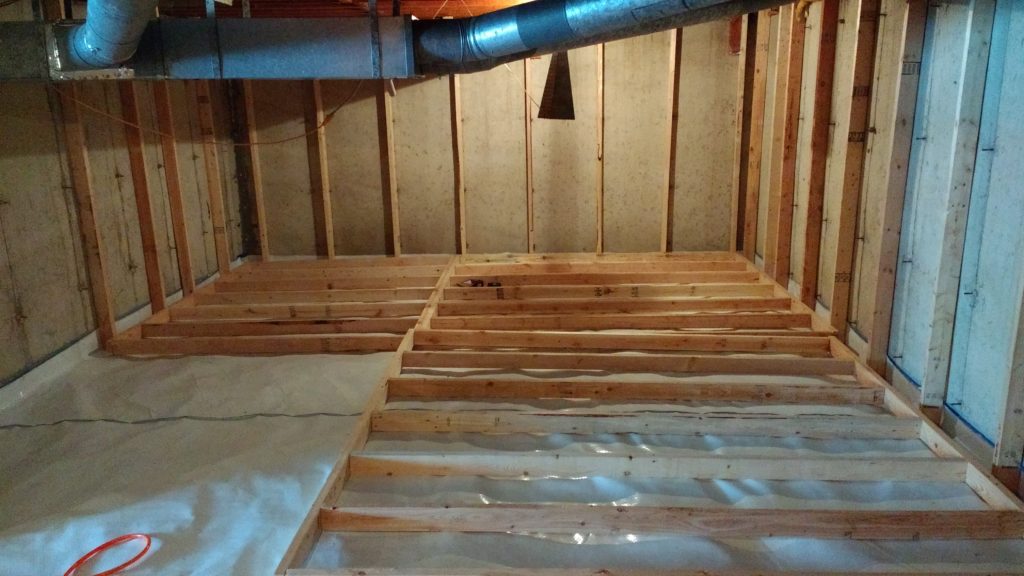
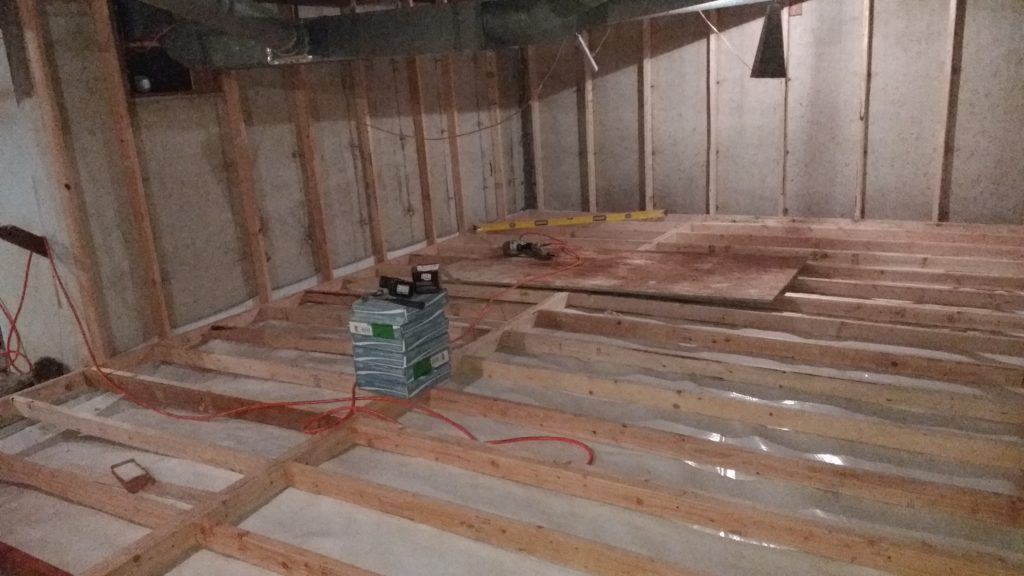
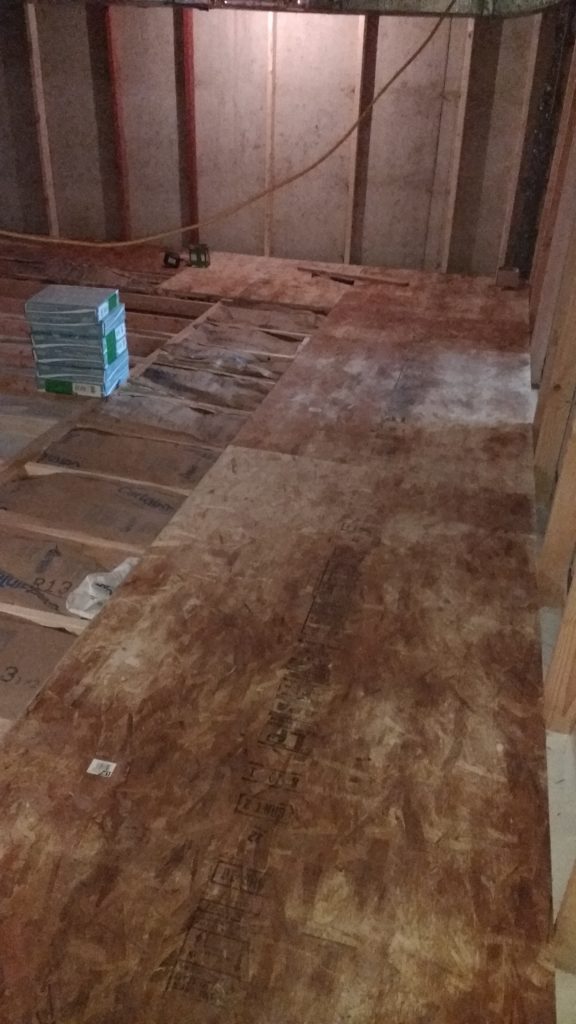
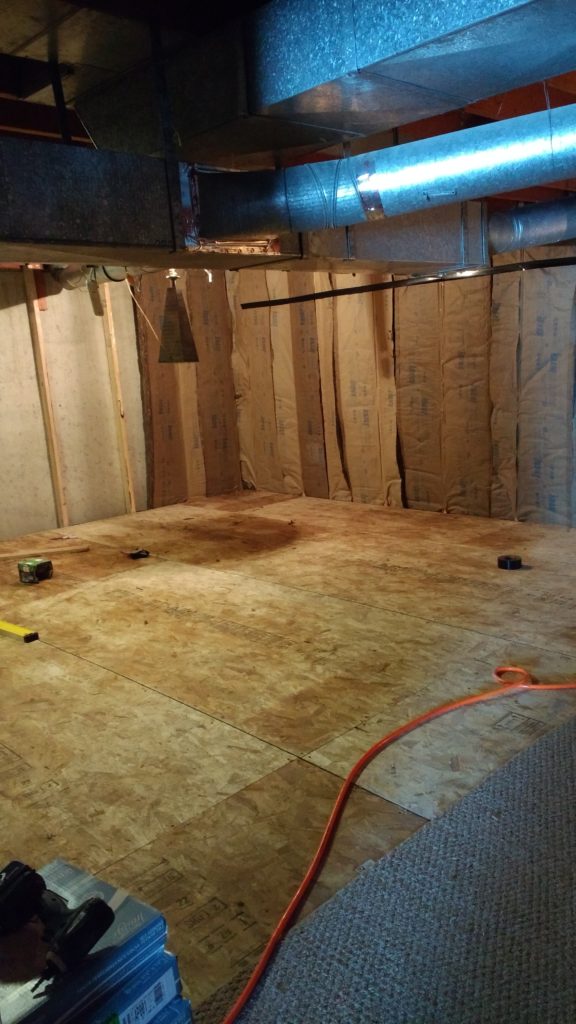
I wound up putting insulation between my floor joists to dampen the sound. Without this, it would have sounded like a drum with every step. I’m still in the process of putting insulation on the walls and then drywall, but you can get the idea. We’ll be putting a furnace and storage shelves in one half of the room. The other half will become a kid play room.
Stay tuned for more Home Improvement posts. I plan to do a “Before & After” post at some point. And show the fully finished result of this work.