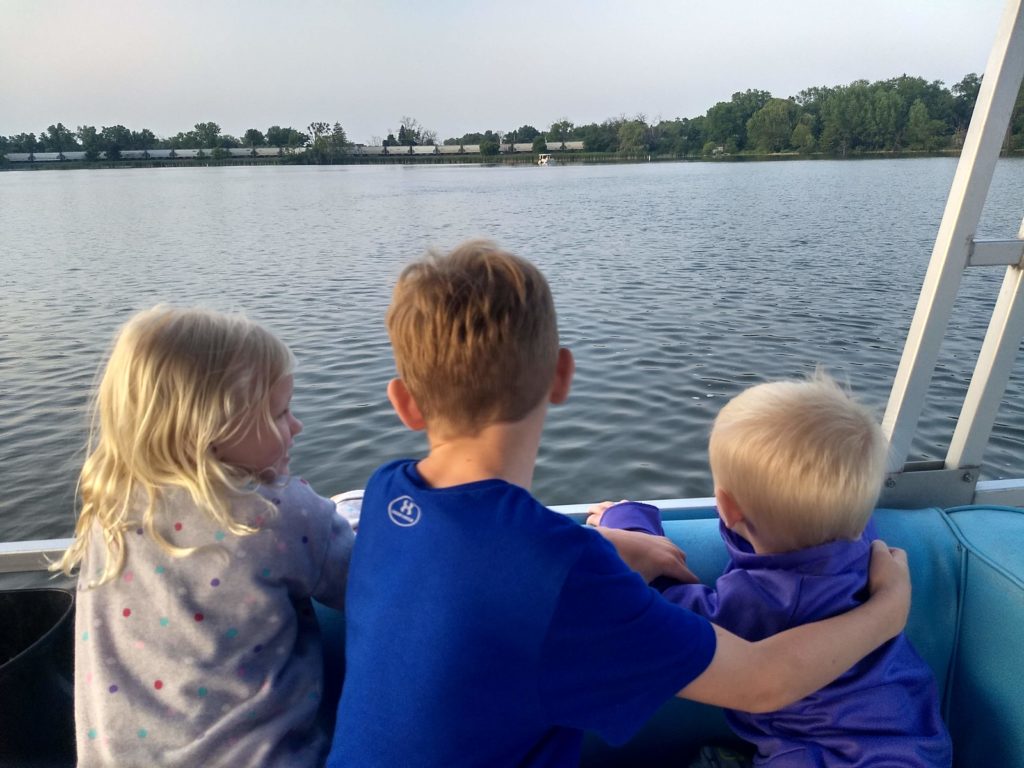
Following Country Thunder, we took some time to tackle some home projects without the kids. They stayed up at the lake with Mimi & Papa while we came home. For a night. That’s when Karissa’s brother was heading back up there for his last few nights and needed Karissa to come too.
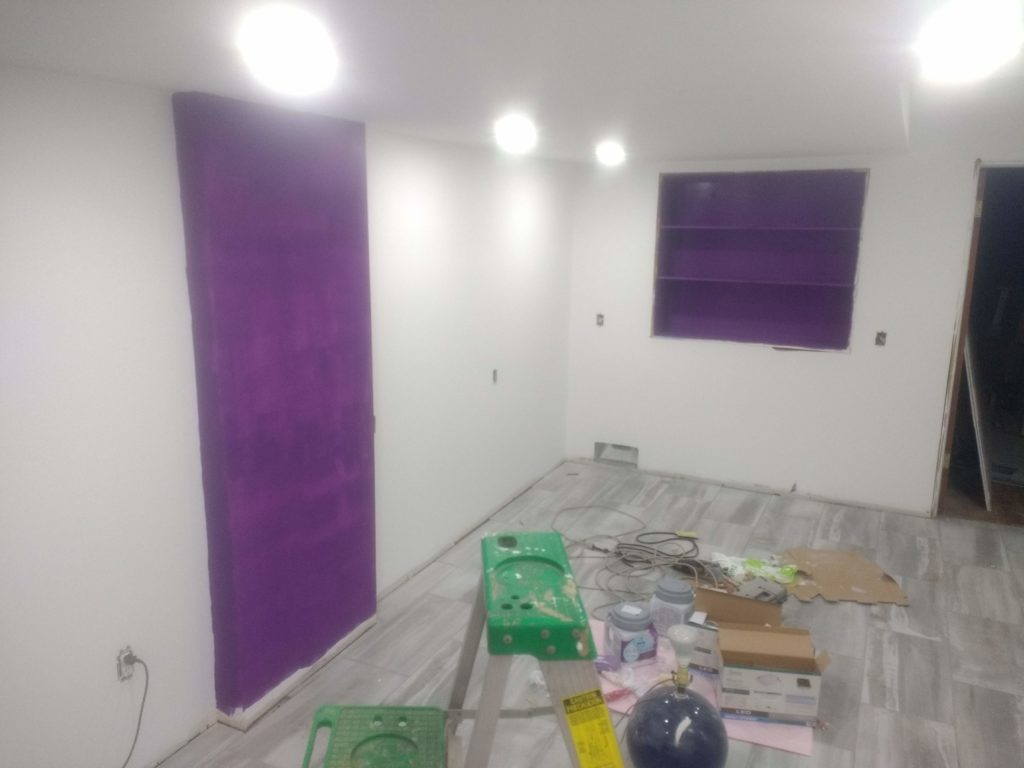
Karissa and I started assembling the closet system in the large basement bedroom before she left for the lake. While she was gone, I purchased the final grey for our main basement room and got to work painting the living room and her craft room (and finishing the closet).
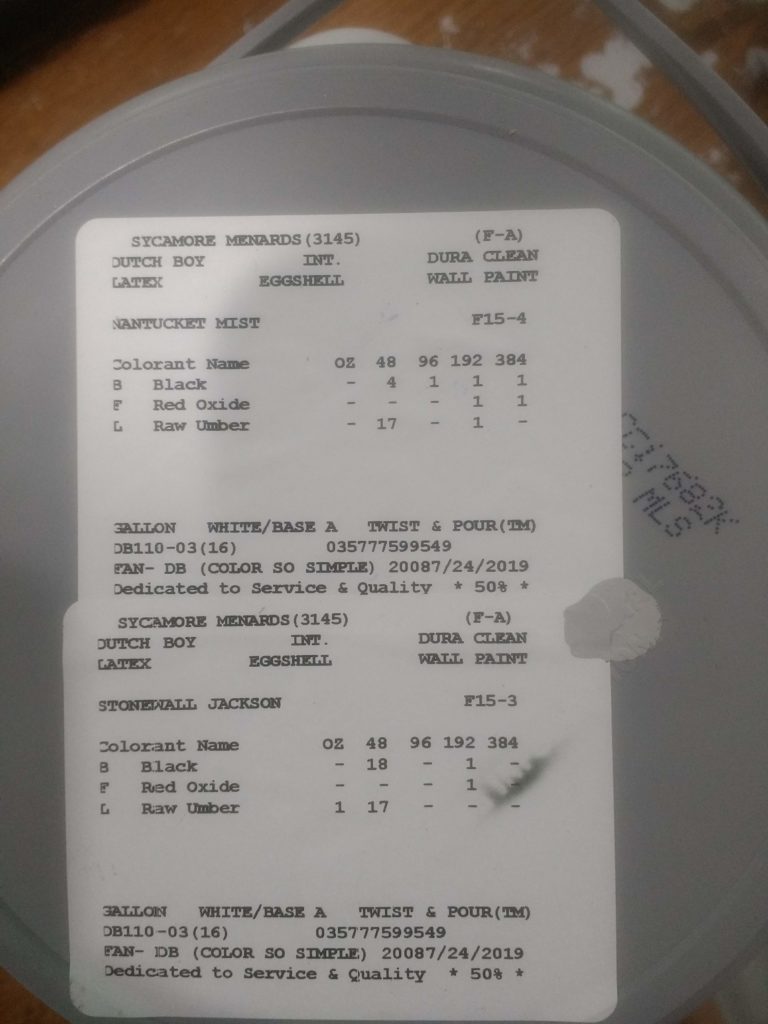
In case you ever want to use our color. 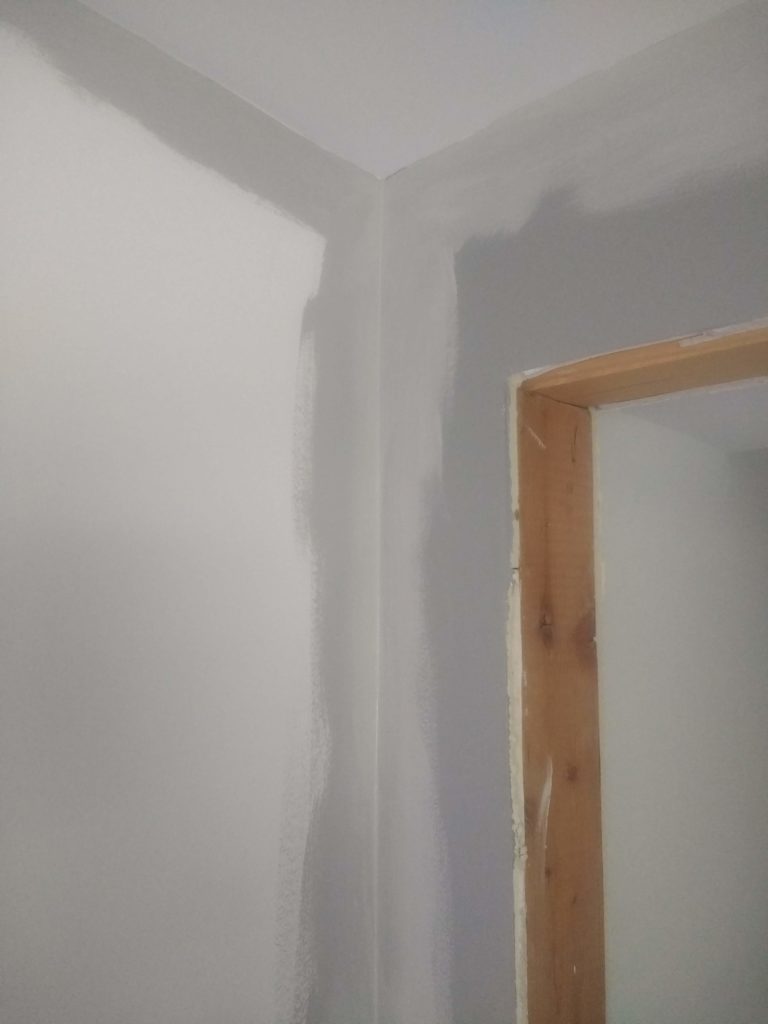
Corner: final color. Left: White. Right: First try – too Blue! 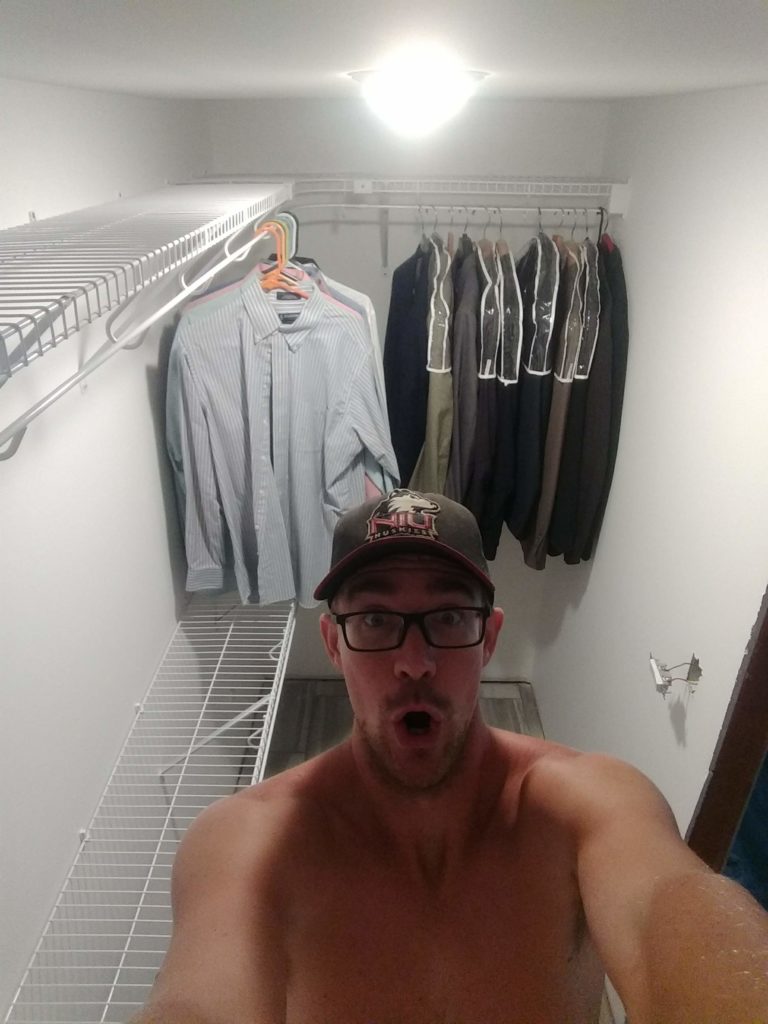
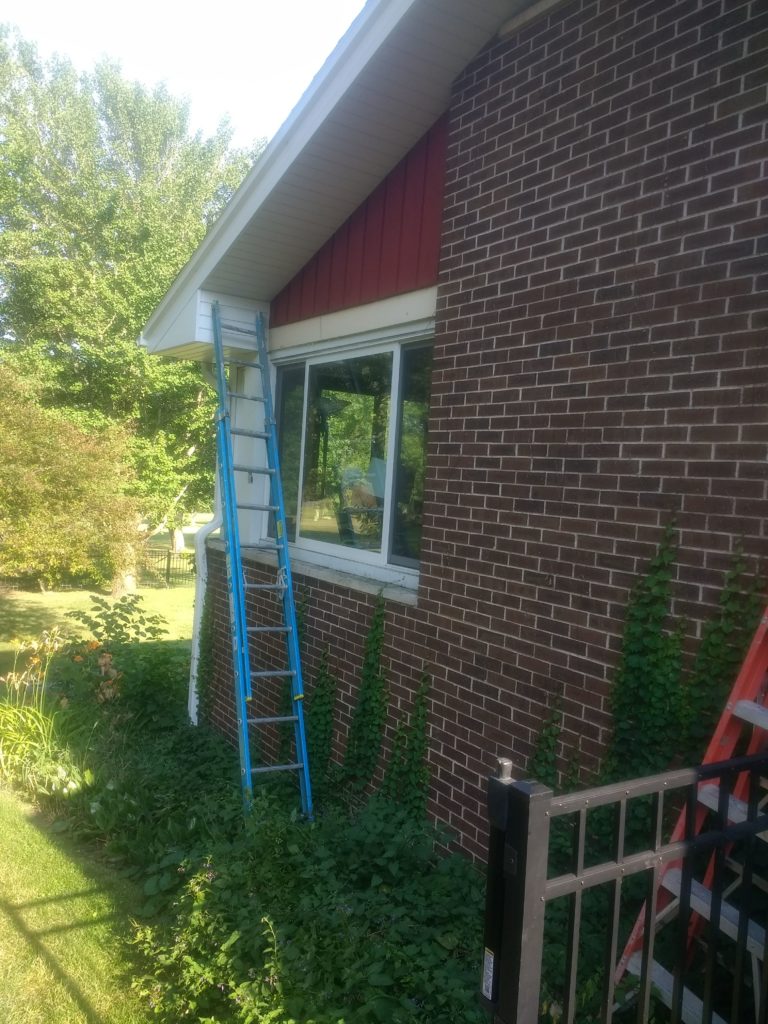
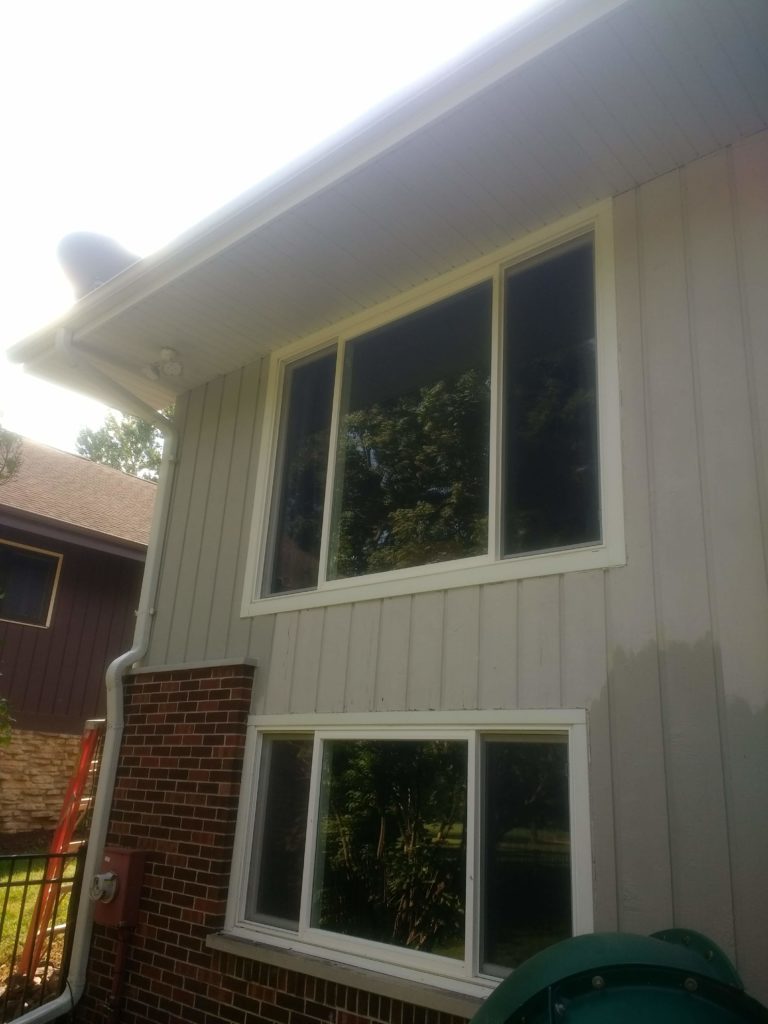
I also started painting the outside of our house. We’ve been through a lot of colors and attempts at it over the years. It was red when we bought it. We tried painting it a dark brown, but hated it. We explored various shades of blue before landing on…..grey! The one we chose had a pink-ish hue that we couldn’t live with. So last year we chose a grey we like for the outside of the house called Route 66. I spent some time painting the areas of the house that were still red…
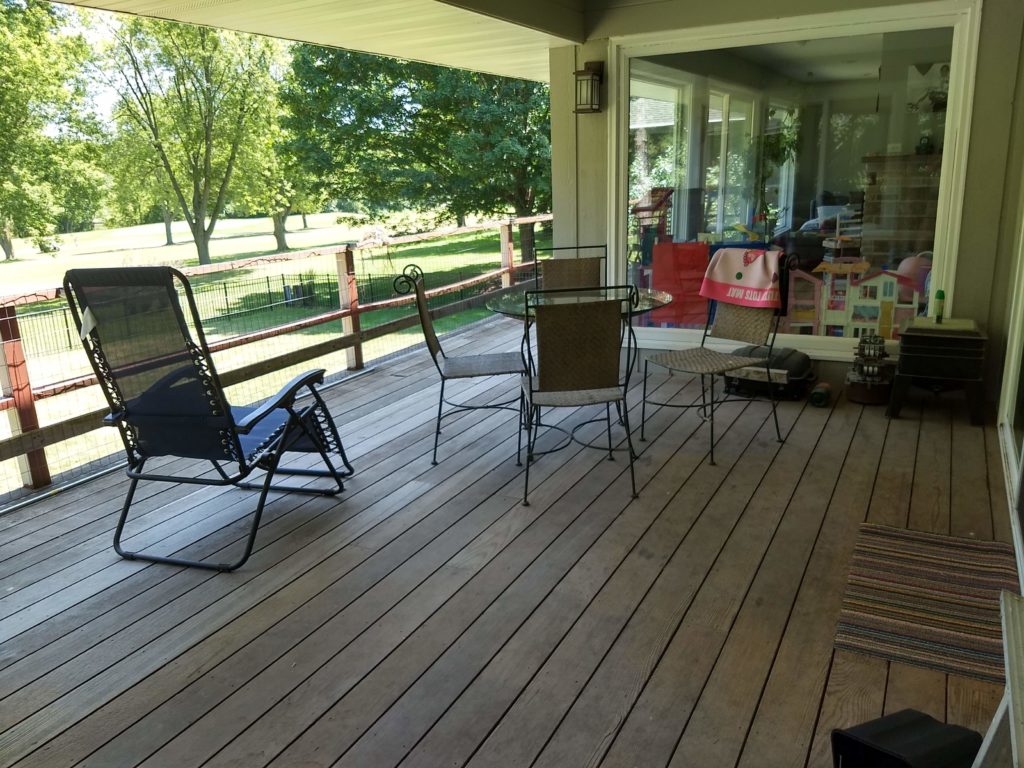
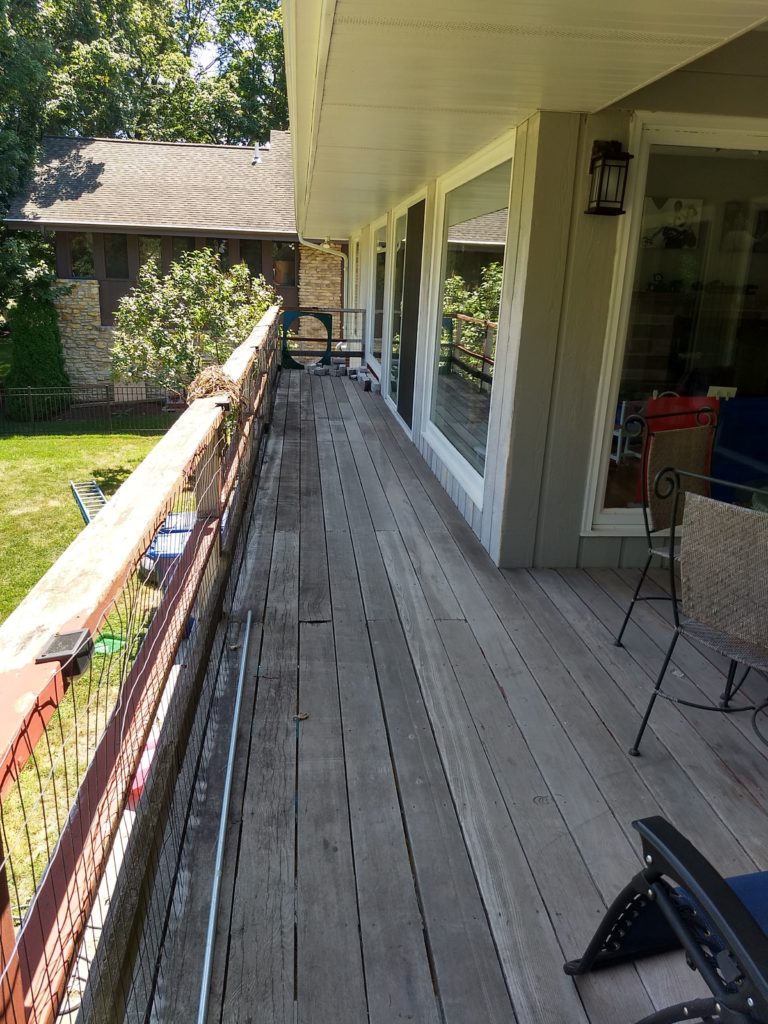
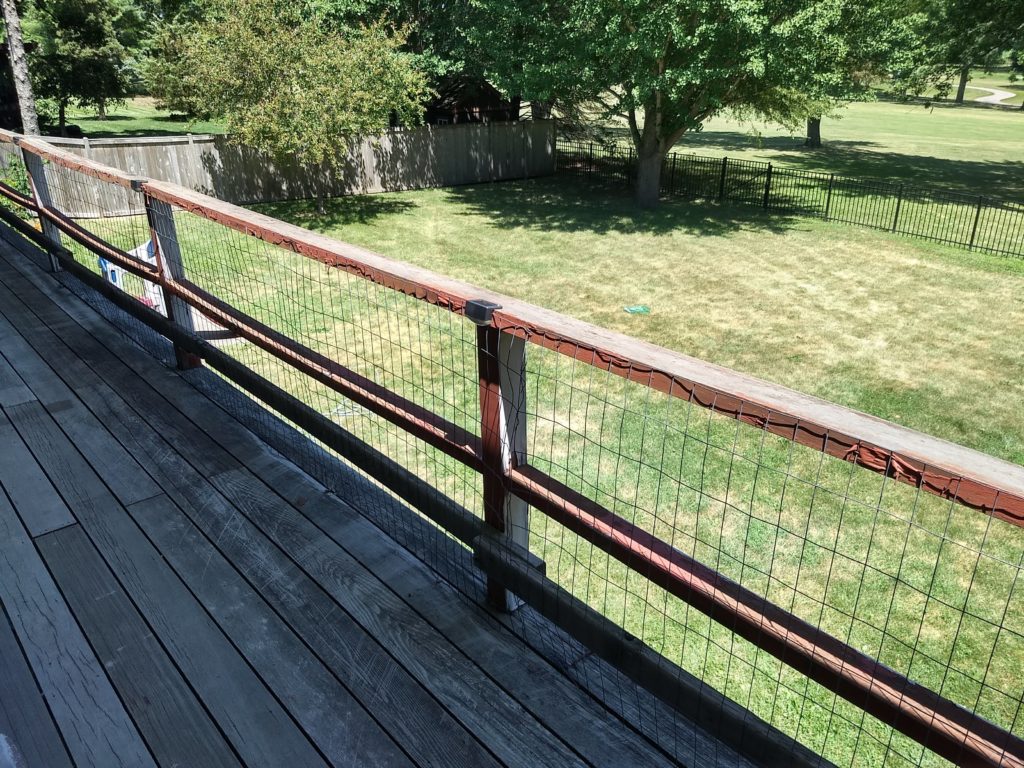
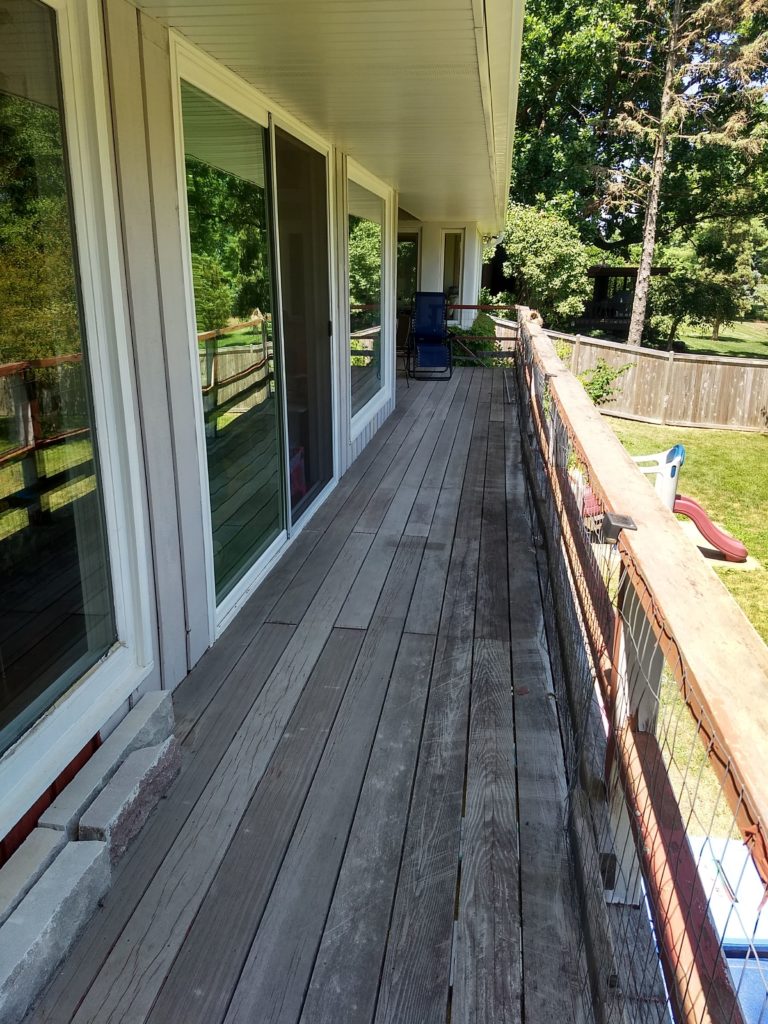
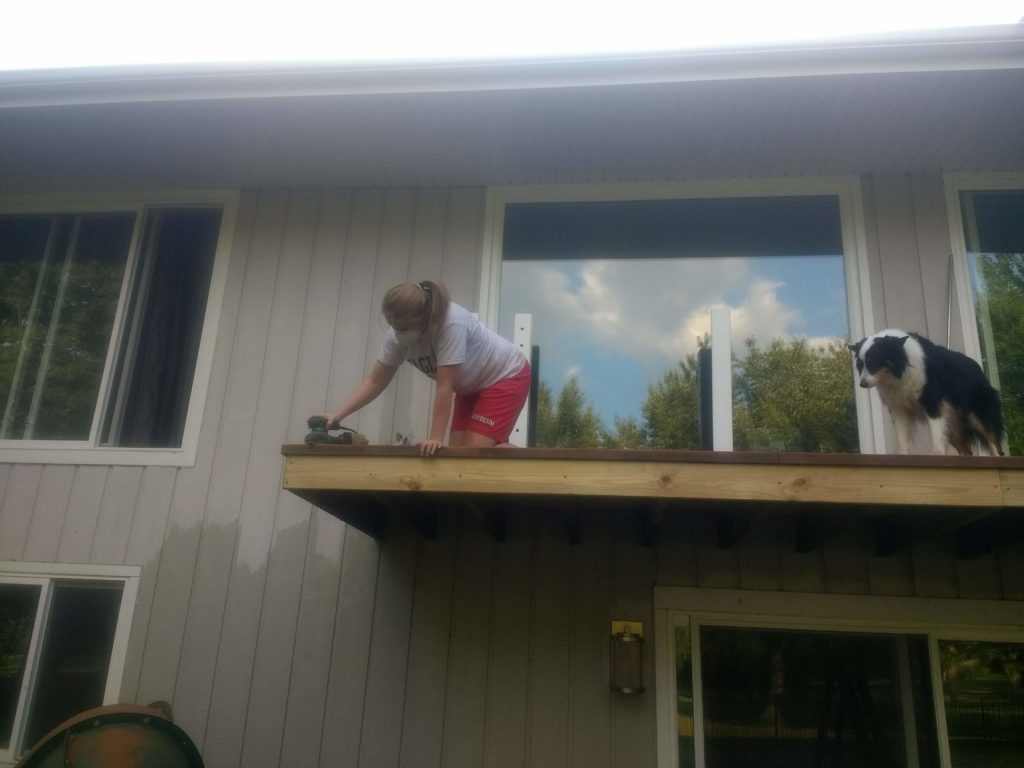
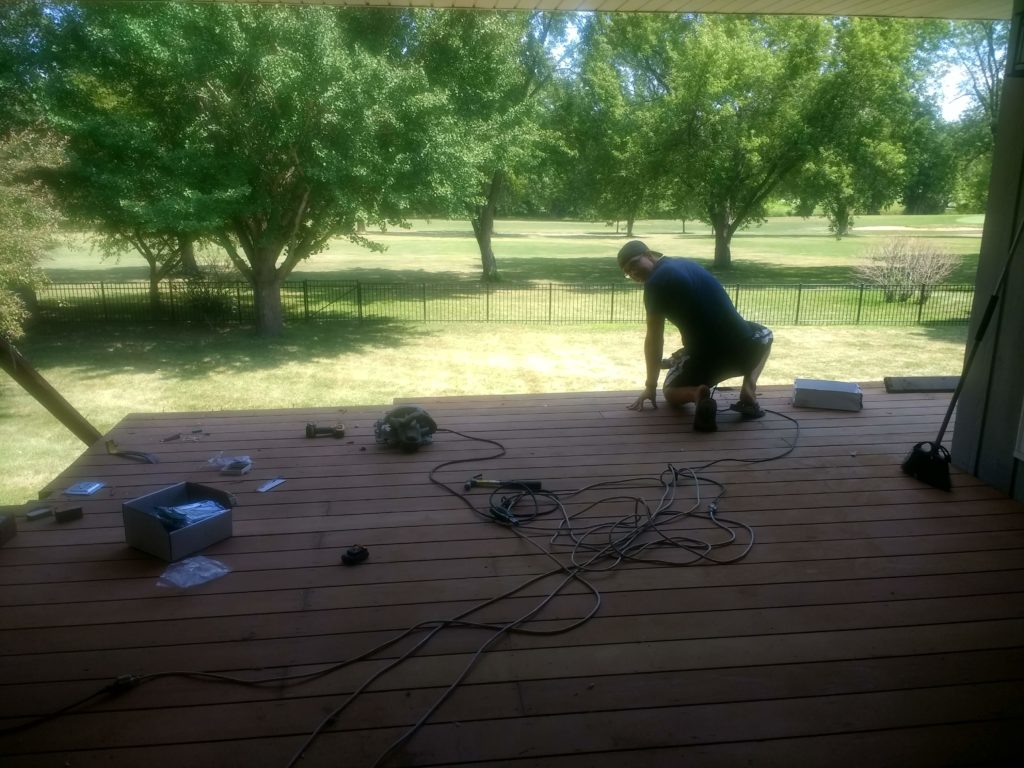
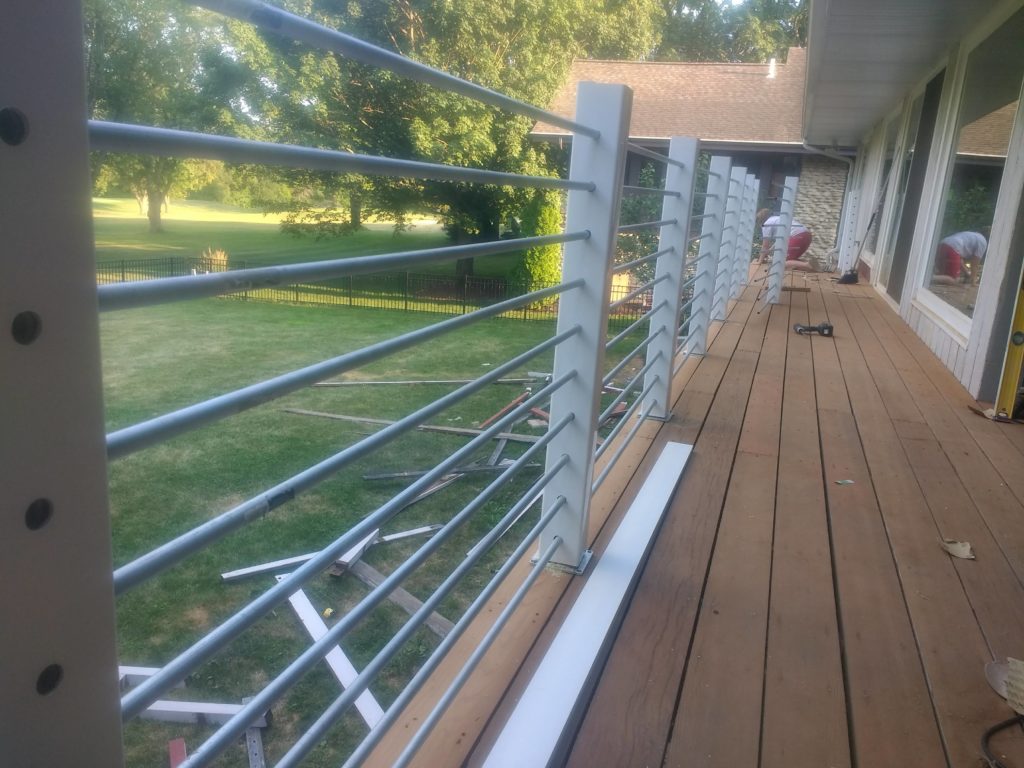
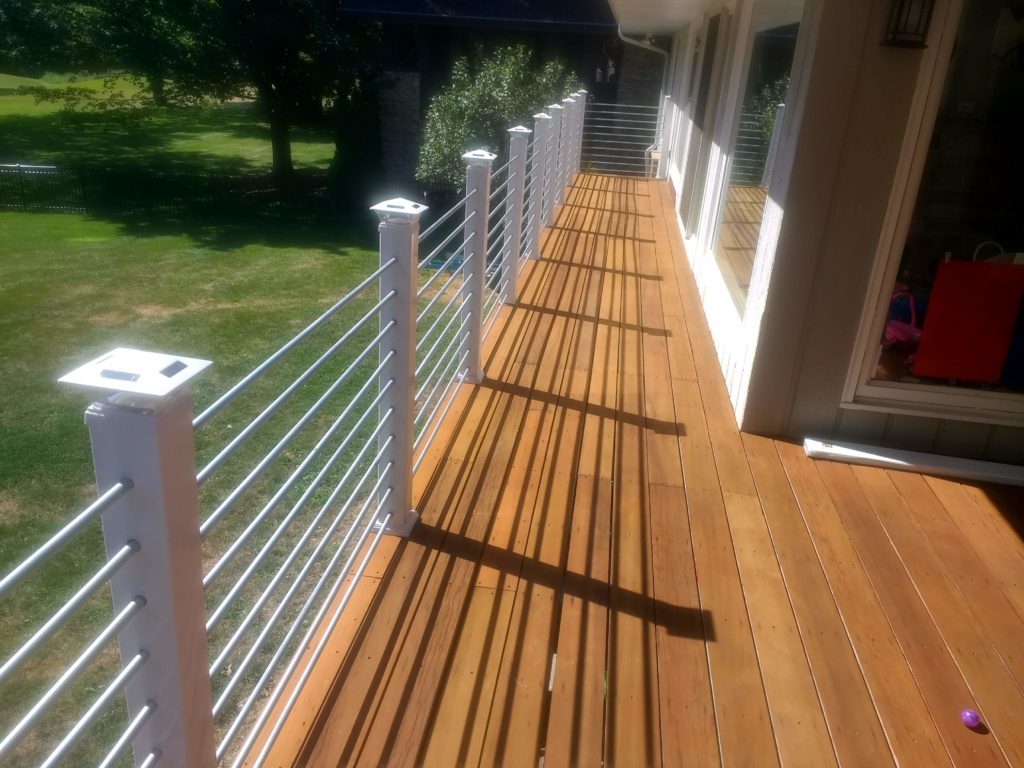
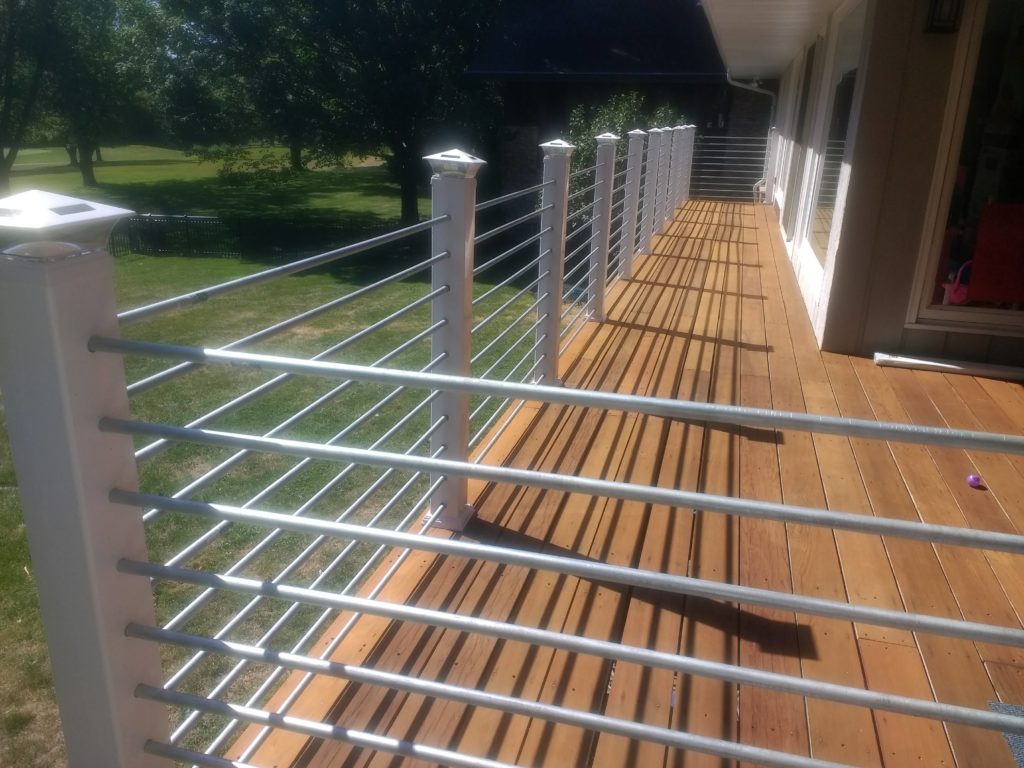
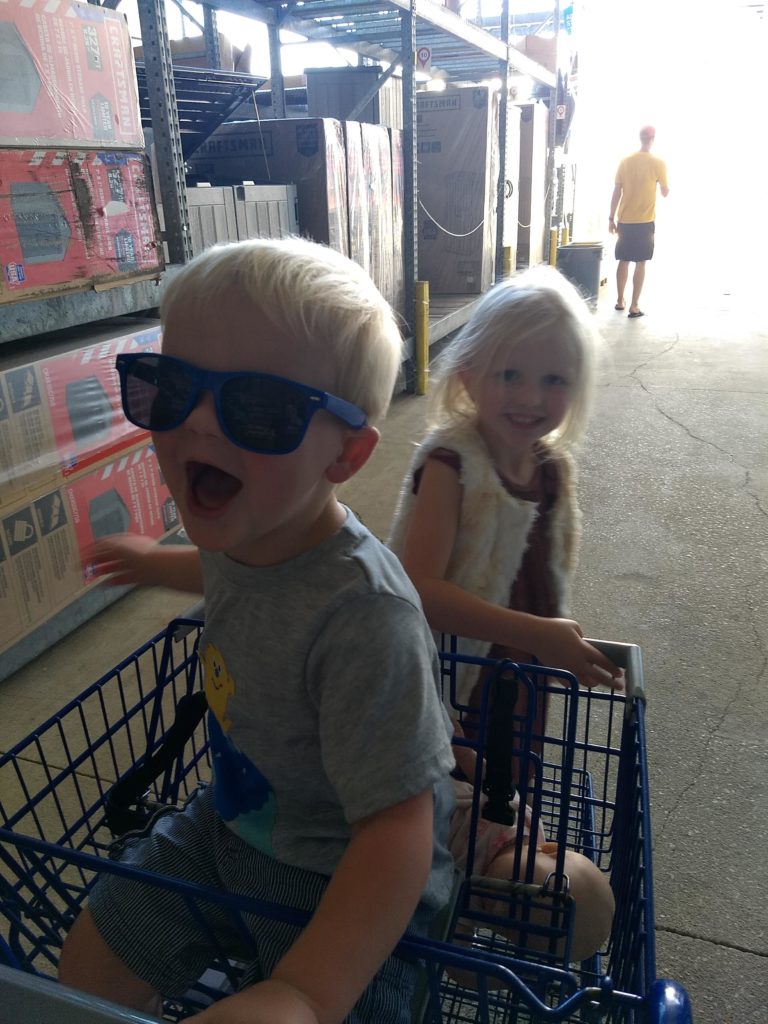
While Karissa was up in Wisconsin, she managed to convince her parents to keep the kids for a few days. We didn’t want them around to do our next project – replacing the deck railing and refinishing the deck surface. Even up until purchasing the materials, we were open to ideas. The plan long ago was to do cable railing. I got a quote for the inside of our house and flipped, so we did conduit instead. That was our plan to bring the inside-out and match. So to work we got!
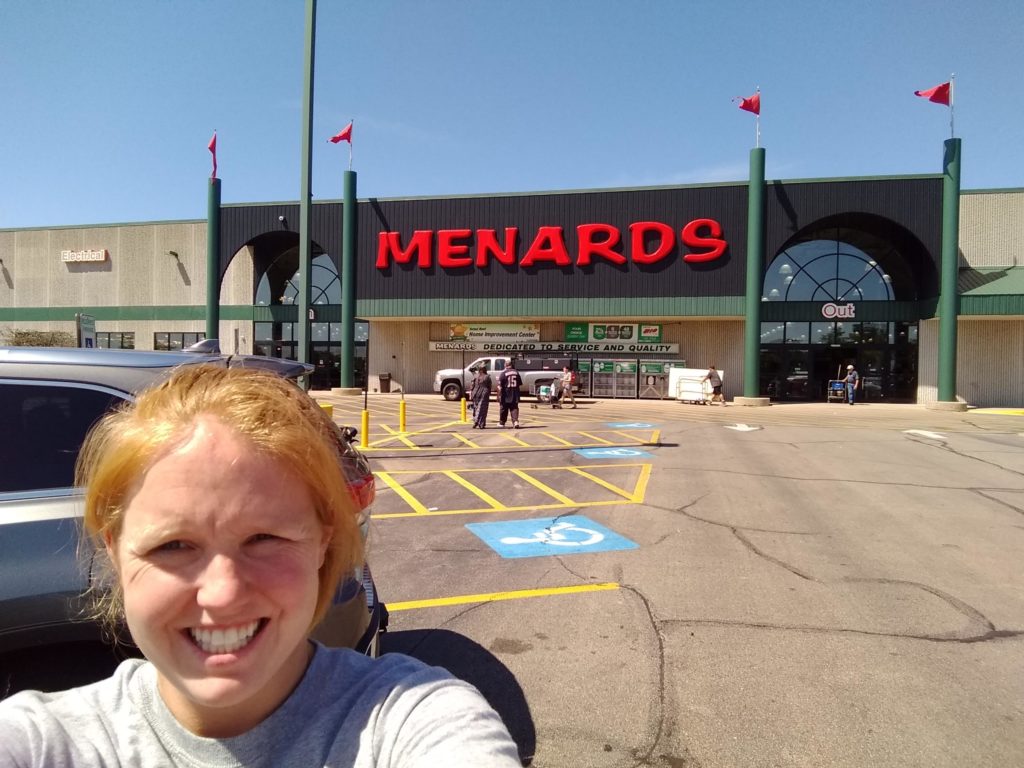
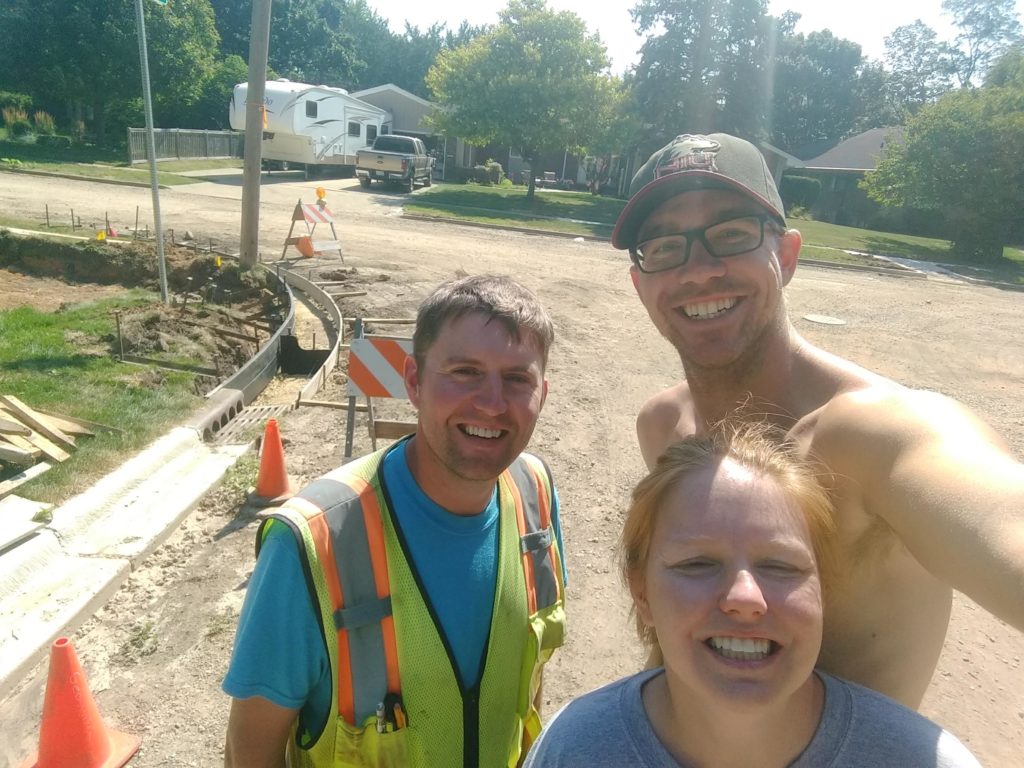
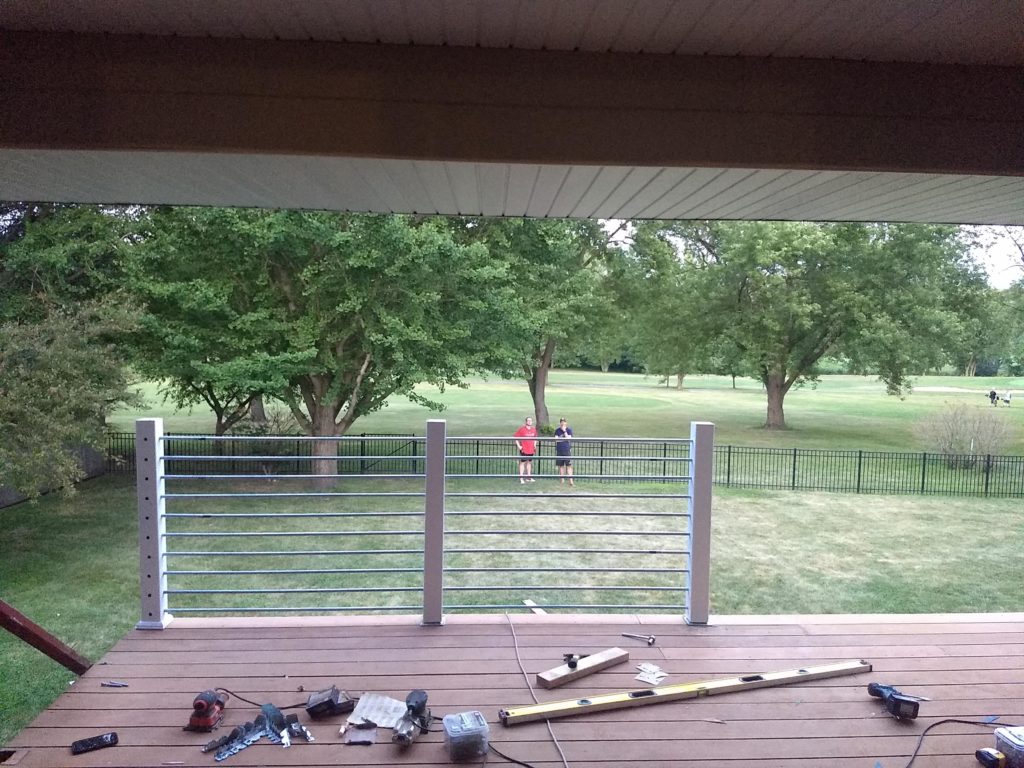
At the end of the first day, we got the deck sanded, removed the old railing, and got up two completed sections of the new stuff. It was a pretty impressive day considering we made 3 trips to Menards, watched a friend inspect the concrete for our new curbs, and visited a house with my brother.
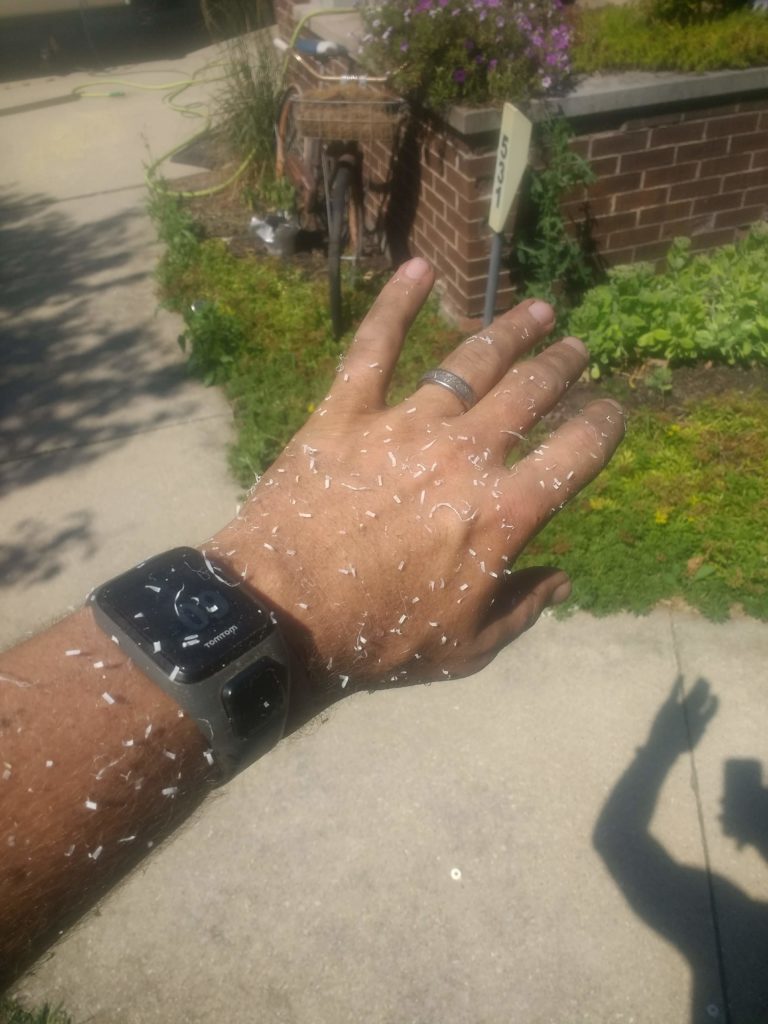
On day 2, Karissa had to go to a baby shower for the wife of the guy we saw the day before. So it was all me. My plan was to cut the posts to length, drill all of the holes for the conduit, and cut the conduit to length. By the time Karissa got home, I was dirty, dusty, and couldn’t feel my hands.
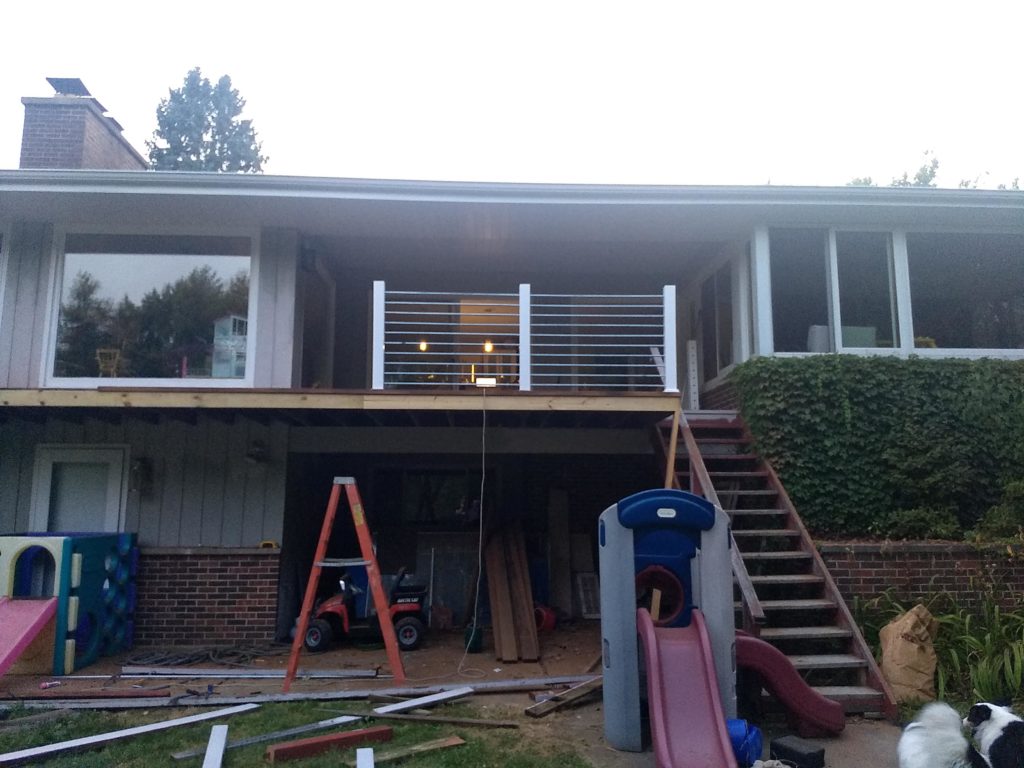
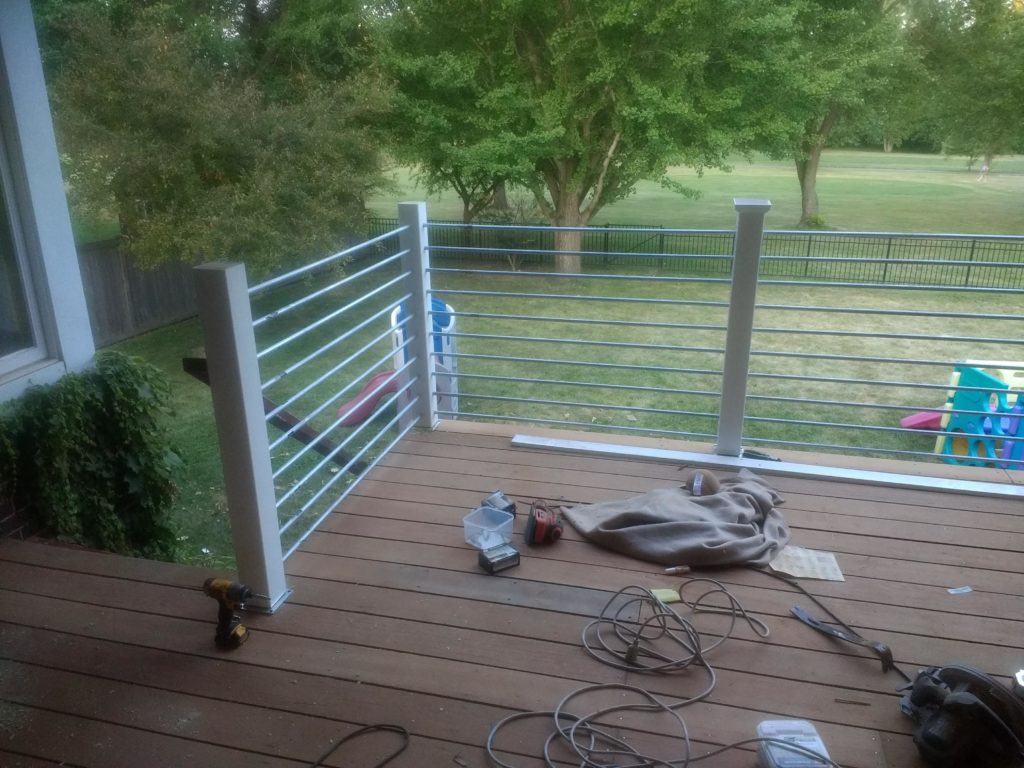
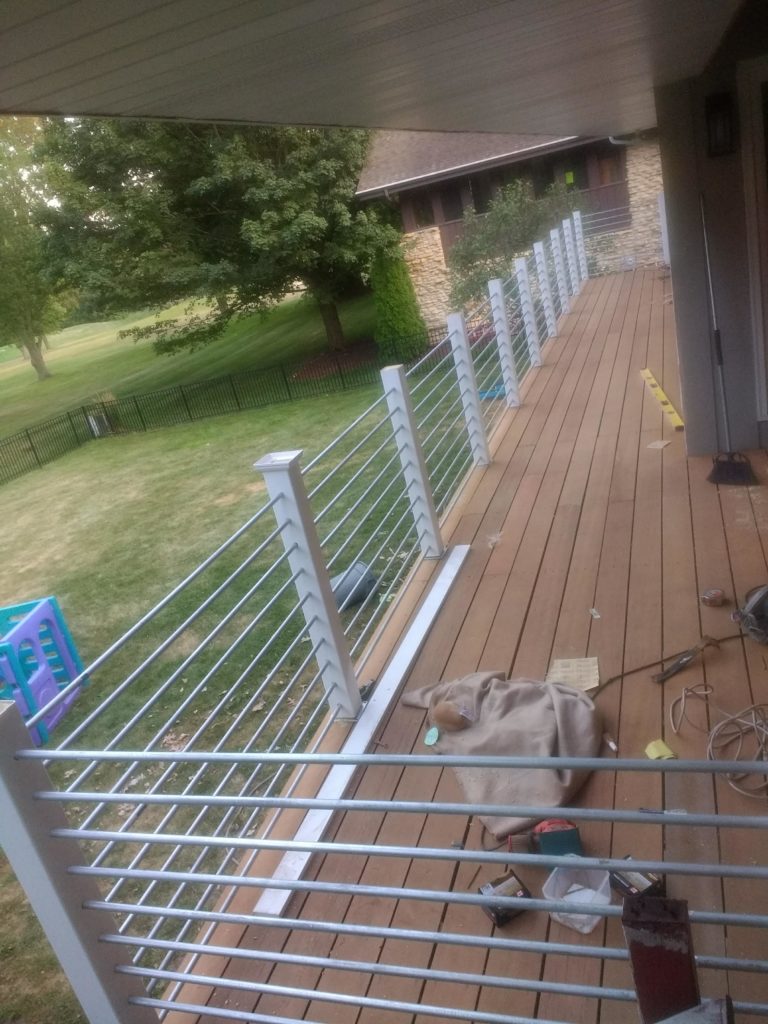
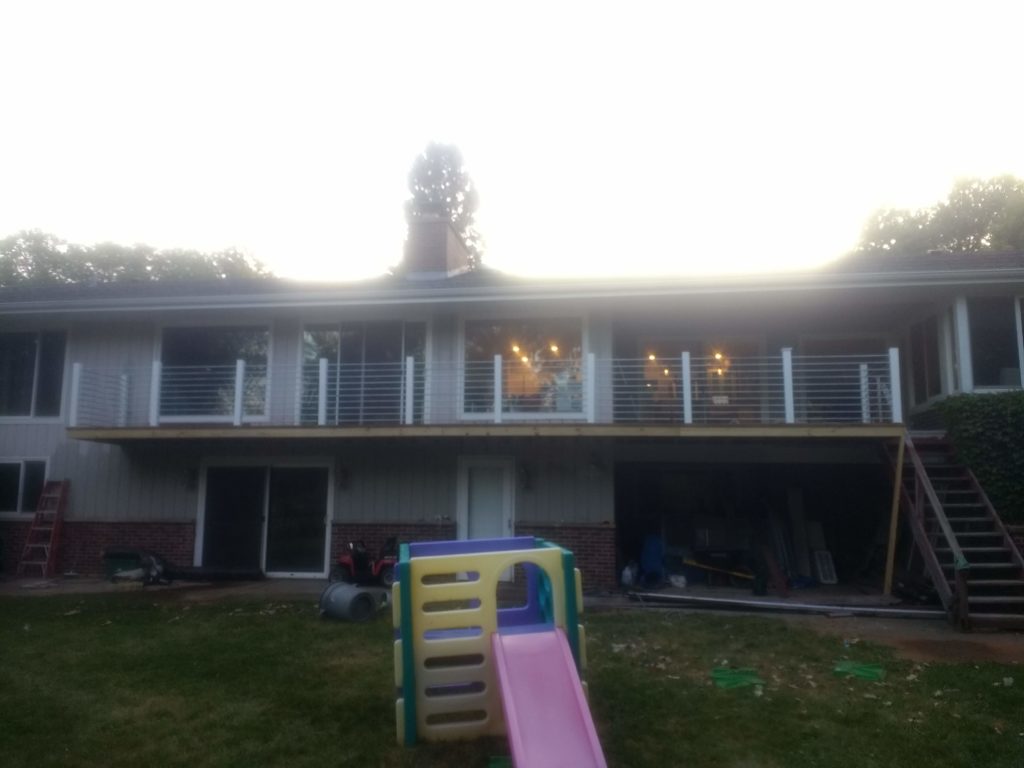
On the third day, we put it all together. We had to pick up the kids that afternoon, so got to work right away. We couldn’t have the kids home without a safe deck railing, so we worked like dogs. A lot of grunting, thinking, and hard work later – we got it done (to the point of safety) just in time!
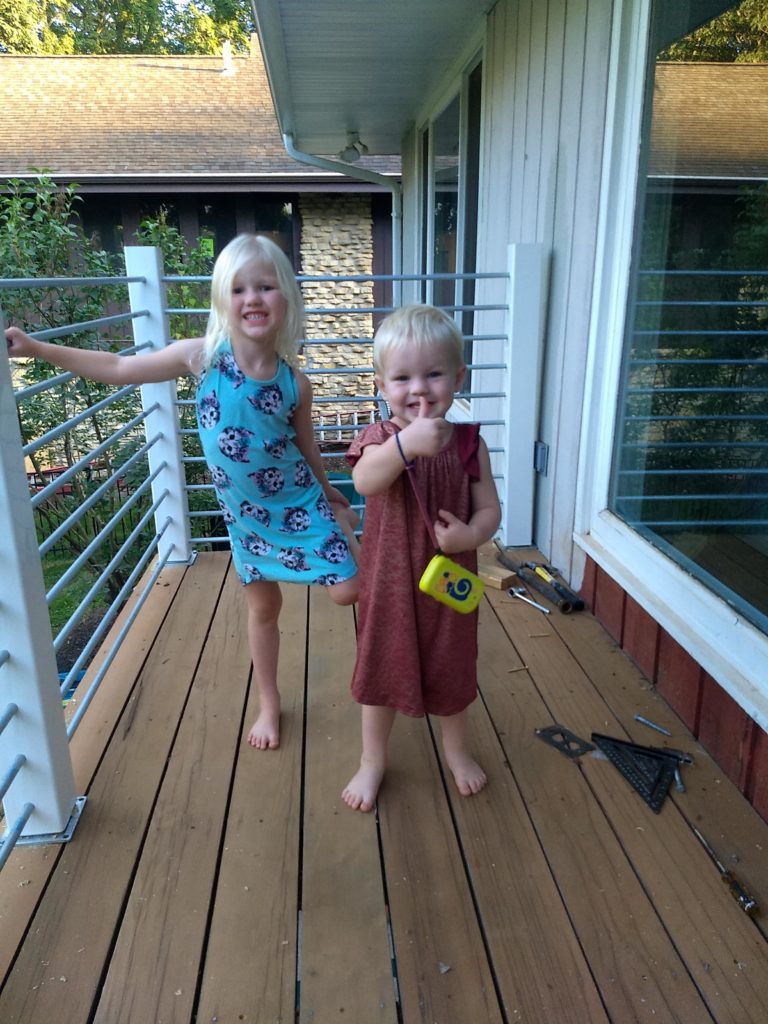
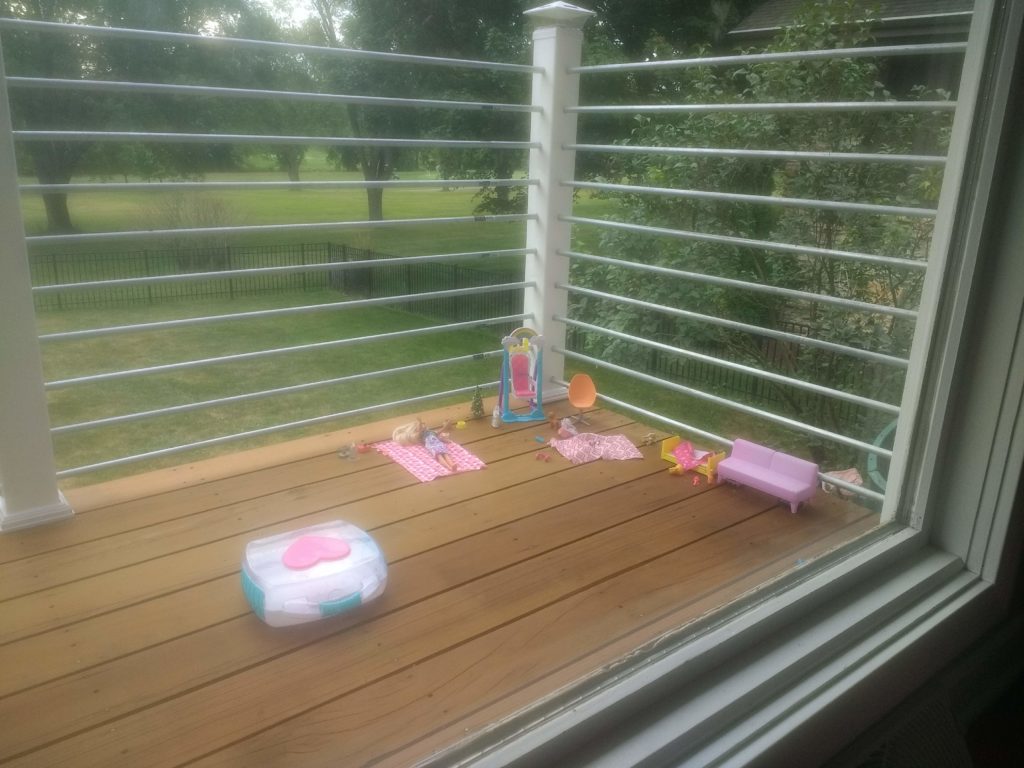
The kids LOVED it when they saw it! We can finally feel safe(r) letting them play out there and not worry about the whole thing collapsing or rotting away.
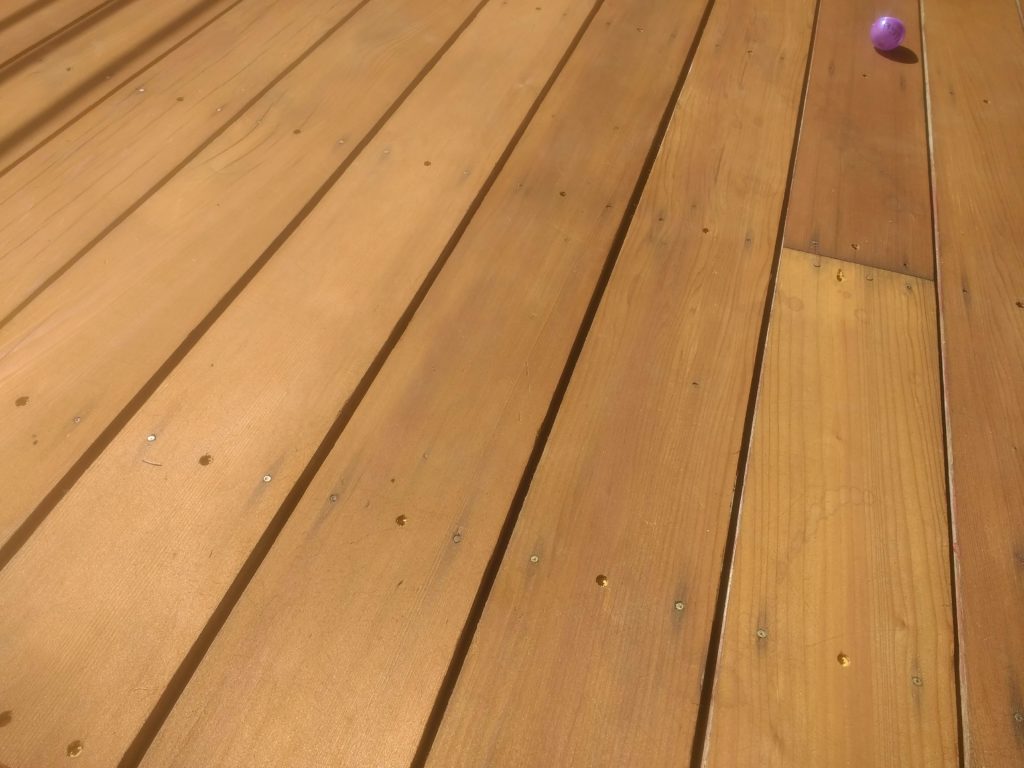
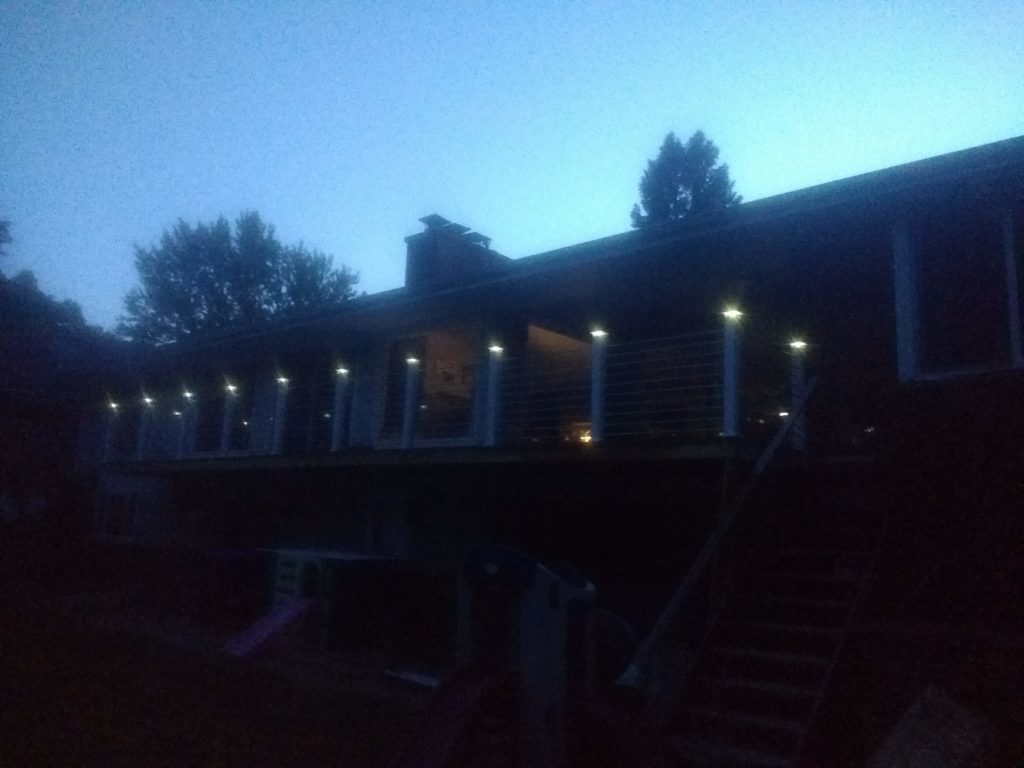
We’d planned on putting a slide right behind the kids in the above picture. We bought one that seemed perfect. We still might (but probably not). We ran out of time to figure it out in time for them coming home. We also continued to debate how to top the posts. Inside of our house, we have a piece of 2″x4″ wood running across the top. Because we used vinyl sleeves over the posts outside, wood was out of the question. They don’t make vinyl 2″x4″ sleeves. We found a vinyl 2″x6″ sleeve but decided that the overhang and visible mounting hardware wouldn’t work for us. So we bought solar light post caps. While it doesn’t exactly match the inside, it completes the project without much more work and looks pretty awesome. The final step was sealing the wood on the deck. Project complete!
We’re really bad at keeping receipts and tracking exact project costs, but it cost us about $600-700, all-in, to get it done. We nearly bought a kit at Menards to put up pre-made railings with glass panels. The sign seemed to indicate it was $130/6′ section. Which would have been something like $1,300-1,500 for our deck. To avoid all of the handmade posts and conduit pushing, we thought it might be worth that extra money. After talking to the salesman, we learned you had to add all of the prices together, not just take the price that seemed to indicate the cost of the whole thing. So the kit at Menards was not $130 per section…it was $300! Our project would have cost $3,000+ using a kit!
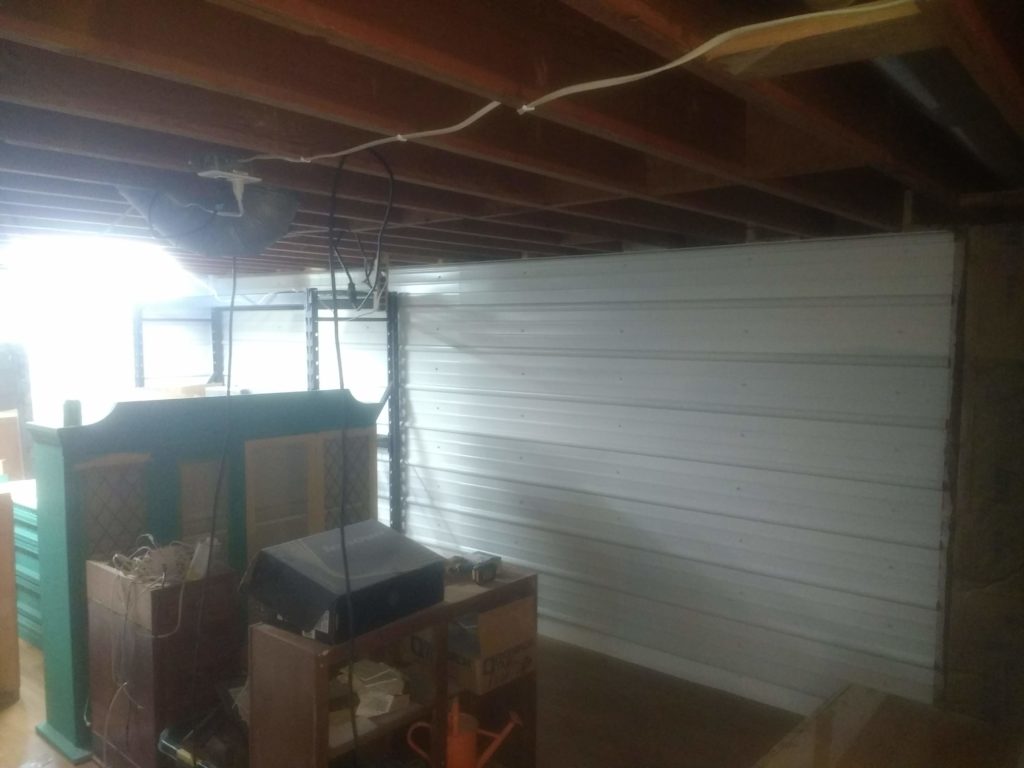
We started another project too. We had a secret room under the kids’ bedrooms. I leveled the dirt floor. We had it encapsulated. I built a floor on top of it. We put down some cheap laminate and put our furnace unit in the room. But stud walls don’t make a room feel “finished”. So we bought some Pro-Rib in white and began putting it up. It now feels very much like a storage unit you’d rent somewhere. It’s very fitting to have our storage room feel like a storage unit. The best part is it’s free! Yay!
So we got a lot done here at the end of our summer. Karissa has to get her classroom ready and return to being “Mommy the Provider” again. School starts next week for Adelaide. We’ll do our best to keep finishing the projects quickly, but with work and school it becomes hard.
There are still a few weekends left of warm weather, so we won’t close the books on Summer 2019 just yet, but it’s on its last breath. Hopefully your summer was as productive and fun as ours!




love all your details about your construction and the pics. Hey, Route 66 was the same color we painted our Byron house. We could have saved you a lot of trouble and told you that was the best color for a house. ha ha
Haha! Route 66 is a perfect exterior color! It’s funny you chose the same one!
Haha! Out of all of the colors, what are the odds we both picked Route 66?!? Awesome! It’s a great exterior color!